Introduction:
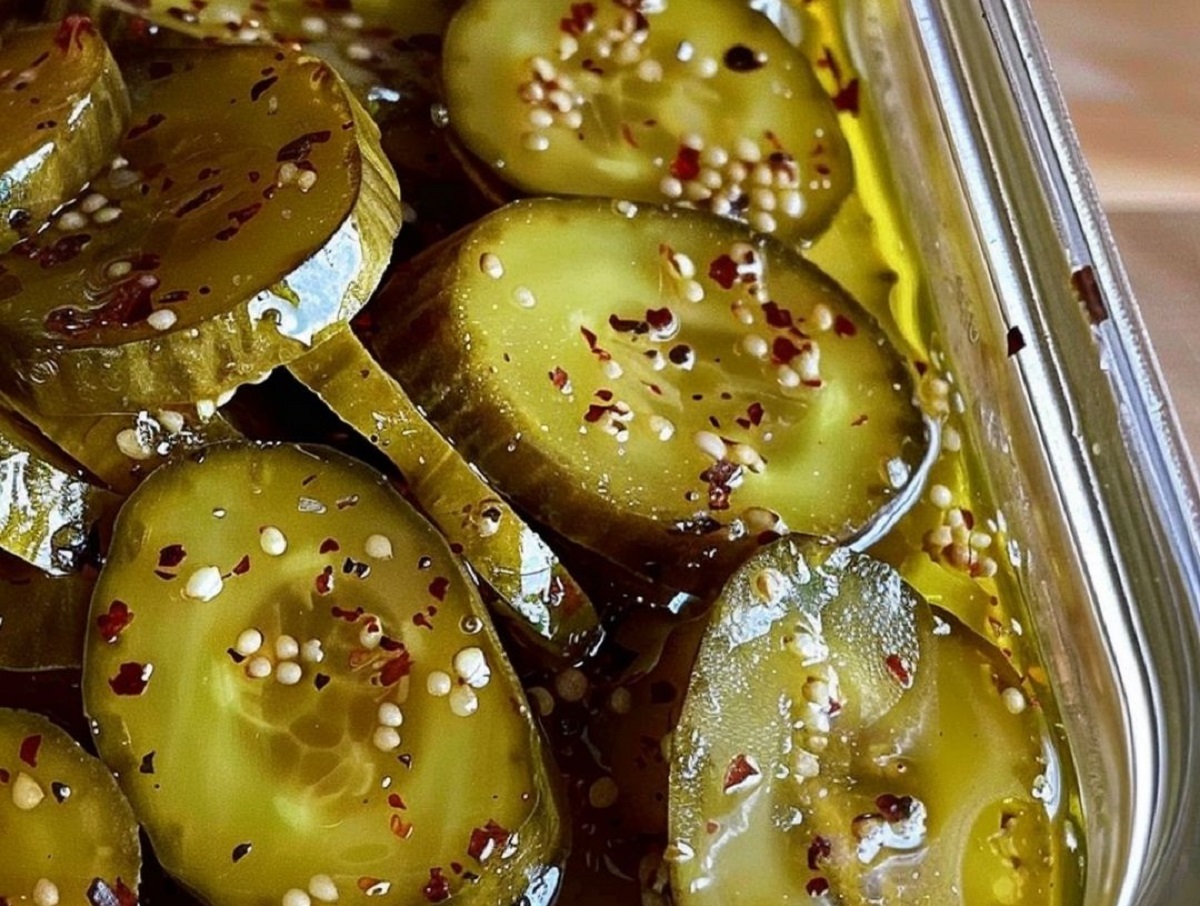
Bread and Butter Pickles are a classic staple in American kitchens, known for their sweet, tangy taste with a hint of spiciness. Perfect for BBQs, picnics, or as a delightful addition to any meal, these pickles combine the crunch of fresh cucumbers with a vibrant, flavorful brine. This article will guide you through the process of making these delightful pickles, including detailed steps, tips for the best results, and some creative ways to enjoy them.
Ingredients:
- Cucumbers: 4 cups, thinly sliced
- Onions: 1 cup, thinly sliced
- Granulated Sugar: 1 cup
- White Vinegar: 1 cup
- Water: ½ cup
- Mustard Seeds: 1 tbsp
- Celery Seeds: 1 tsp
- Turmeric: 1 tsp
- Salt: ½ tsp
- Black Peppercorns: ¼ tsp
- Red Pepper Flakes: ¼ tsp (optional for added heat)
Directions and Preparation Method:
- Prepping Vegetables: Begin by combining the thinly sliced cucumbers and onions in a large bowl. Sprinkle with the salt and toss to coat evenly. This initial salting draws out moisture from the vegetables, helping to crisp them up. Allow the mixture to sit for about one hour.
- Rinsing: After the salting period, rinse the cucumbers and onions thoroughly under cold water. This not only removes excess salt but also ensures that the pickles will not be overly salty. Drain the vegetables well to remove any remaining water.
- Making the Pickling Solution: In a saucepan, combine the granulated sugar, white vinegar, water, mustard seeds, celery seeds, turmeric, black peppercorns, and red pepper flakes if using. Heat the mixture over medium heat, stirring continuously until the sugar completely dissolves. This mixture will create the base of the pickling brine, infusing the pickles with its flavors.
- Jarring: Pack the rinsed cucumbers and onions into clean, sterilized jars. Pour the hot pickling liquid over them, ensuring the vegetables are fully submerged. This step is crucial as proper submersion in the pickling liquid will ensure even flavoring and preservation.
- Sealing and Cooling: Wipe the rims of the jars with a clean cloth to remove any residue that could interfere with the sealing process. Seal the jars with their lids and allow them to cool to room temperature. This gradual cooling helps to develop the flavors and textures that are characteristic of bread and butter pickles.
- Refrigerating: Place the sealed jars in the refrigerator for at least 24 hours before serving. This resting period allows the flavors to meld beautifully, creating a depth of flavor that enhances over time. The pickles will keep in the refrigerator for up to 2 months.
Conclusion:
Making your own Bread and Butter Pickles is a rewarding experience that yields delicious results. Whether enjoyed on their own, as a side dish, or as part of a larger meal, these pickles bring a burst of flavor to any dining table. The combination of sweet, tangy, and spicy elements makes them a versatile condiment that can be tailored to your taste preferences. By following the steps outlined in this article, you can create a batch of homemade pickles that are sure to impress. Happy pickling!
