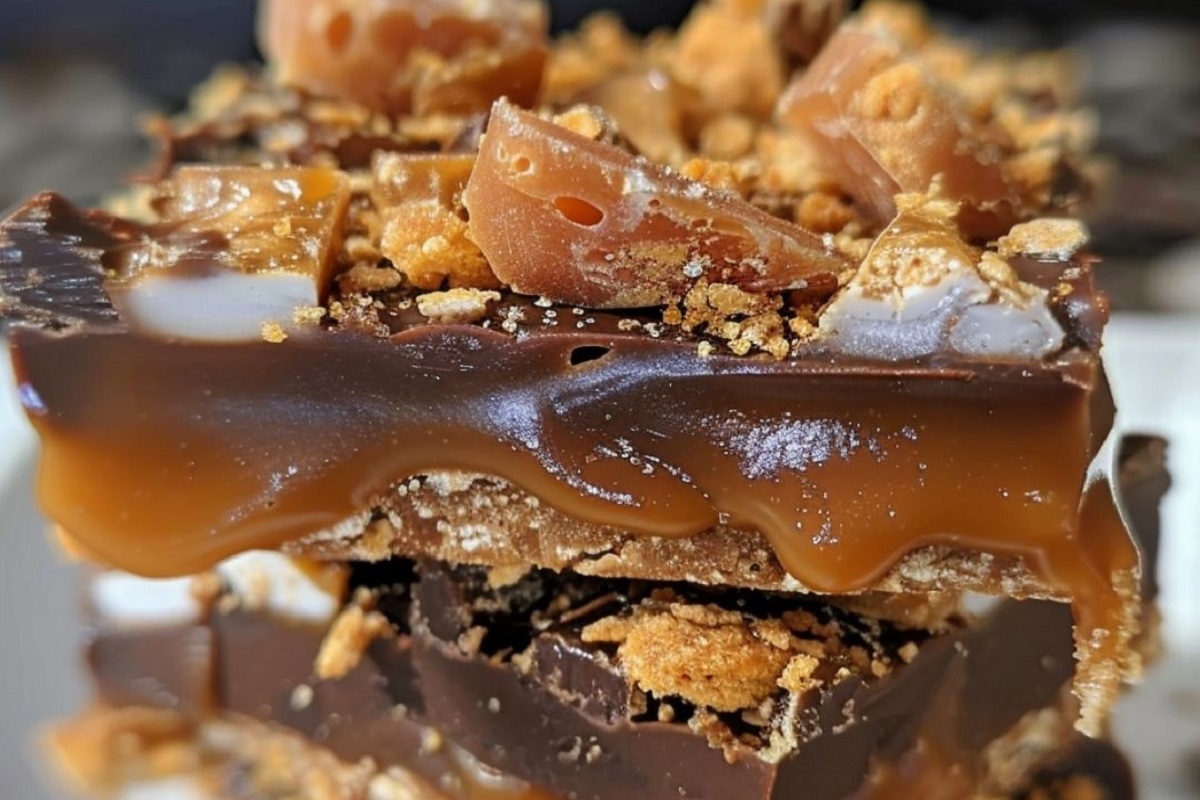
Indulging in the sweet, crunchy, and creamy flavors of Butterfinger Caramel Bars is a treat that many look forward to. Whether you’re making these bars for a special occasion, a family gathering, or simply to satisfy your sweet tooth, this recipe is sure to impress. The combination of yellow cake mix, Butterfinger candy bars, caramel, and chocolate creates a layered dessert that is not only delicious but also visually appealing. Let’s dive into this recipe, explore its steps, and answer some common questions.
Ingredients
To make these irresistible Butterfinger Caramel Bars, you will need the following ingredients:
- 1 box yellow cake mix
- ¾ cup unsalted butter, melted
- 1 large egg
- 1 cup Butterfinger candy bars, crushed
- 1 cup caramel sauce
- 1 cup semi-sweet chocolate chips
- 1 (14 oz) can sweetened condensed milk
Ingredient Insights
- Yellow Cake Mix: This serves as the base for the bars, providing a soft and fluffy texture. You can choose a brand that you prefer or even make your own from scratch if you’re feeling adventurous.
- Unsalted Butter: Melting the butter helps in creating a rich flavor and ensures the bars don’t become too dry.
- Egg: This ingredient helps bind the dough together, providing structure to the bars.
- Butterfinger Candy Bars: The star of this recipe! Their crunchy texture and peanut butter flavor add a delightful contrast to the creamy caramel.
- Caramel Sauce: Using a high-quality caramel sauce can elevate the flavor of your bars significantly. You can opt for homemade or store-bought.
- Semi-Sweet Chocolate Chips: These add a luscious chocolate layer that pairs beautifully with the sweetness of the caramel and candy bars.
- Sweetened Condensed Milk: This ingredient helps to create a rich and creamy caramel layer, enhancing the overall texture of the bars.
Directions and Preparation Method
Follow these steps carefully to create your Butterfinger Caramel Bars:
Step 1: Preheat the Oven
Preheat your oven to 350°F (175°C). This step is crucial as it ensures that your bars bake evenly and reach the perfect texture.
Step 2: Prepare the Baking Dish
Grease a 9×13-inch baking dish. You can use cooking spray or a little melted butter to prevent the bars from sticking.
Step 3: Make the Dough
In a large mixing bowl, combine the cake mix, melted butter, and egg. Mix these ingredients until a thick dough forms. This dough will act as the base and part of the topping for your bars.
Step 4: Form the Crust
Press two-thirds of the dough into the bottom of the prepared baking dish. Make sure to spread it evenly across the bottom for a consistent crust.
Step 5: Bake the Crust
Place the baking dish in the preheated oven and bake the crust for 10 minutes. This initial baking step helps to set the crust before adding the filling.
Step 6: Prepare the Caramel Mixture
While the crust bakes, mix the caramel sauce and sweetened condensed milk together in a small bowl. This mixture will create a creamy layer that complements the crunchy candy bars.
Step 7: Assemble the Bars
Once the crust is done, remove it from the oven. Pour the caramel mixture over the baked crust, spreading it evenly. Then sprinkle the crushed Butterfinger pieces and chocolate chips on top.
Step 8: Add the Topping
Take the remaining dough and drop it in small spoonfuls over the top of the filling. This will create a delightful, textured topping.
Step 9: Final Baking
Return the baking dish to the oven and bake for an additional 25-30 minutes, or until the bars are golden brown and set. Keep an eye on them to avoid over-baking.
Step 10: Cool and Slice
Allow the bars to cool completely in the baking dish before slicing and serving. This cooling time helps the layers set properly, making it easier to cut into squares.
FAQs
1. Can I use a different cake mix flavor?
Yes! While yellow cake mix is the traditional choice, you can experiment with other flavors like chocolate or vanilla to create different taste profiles for your bars.
2. How should I store the Butterfinger Caramel Bars?
Store them in an airtight container at room temperature for up to a week. If you want to keep them longer, consider refrigerating them for up to two weeks.
3. Can I freeze these bars?
Absolutely! To freeze, cut the bars into squares and wrap them individually in plastic wrap, then place them in a freezer-safe container. They can be frozen for up to three months.
4. What if I can’t find Butterfinger candy bars?
If Butterfinger bars are not available, you can substitute them with another crunchy peanut butter candy, like Reese’s sticks or even a similar chocolate bar that has a crunchy texture.
5. Can I make these bars gluten-free?
Yes! You can use a gluten-free yellow cake mix in place of the regular one. Just ensure all other ingredients are also gluten-free.
6. Can I add nuts to the recipe?
Certainly! Chopped nuts such as peanuts or walnuts can be added to the caramel mixture or sprinkled on top for added crunch and flavor.
Conclusion
Butterfinger Caramel Bars are a delightful treat that combines the richness of caramel, the crunch of Butterfinger, and the softness of cake in one delicious dessert. They are perfect for any occasion, whether it’s a family gathering, a potluck, or a cozy night in. With simple ingredients and easy steps, this recipe is a must-try for anyone looking to indulge in a sweet dessert.
