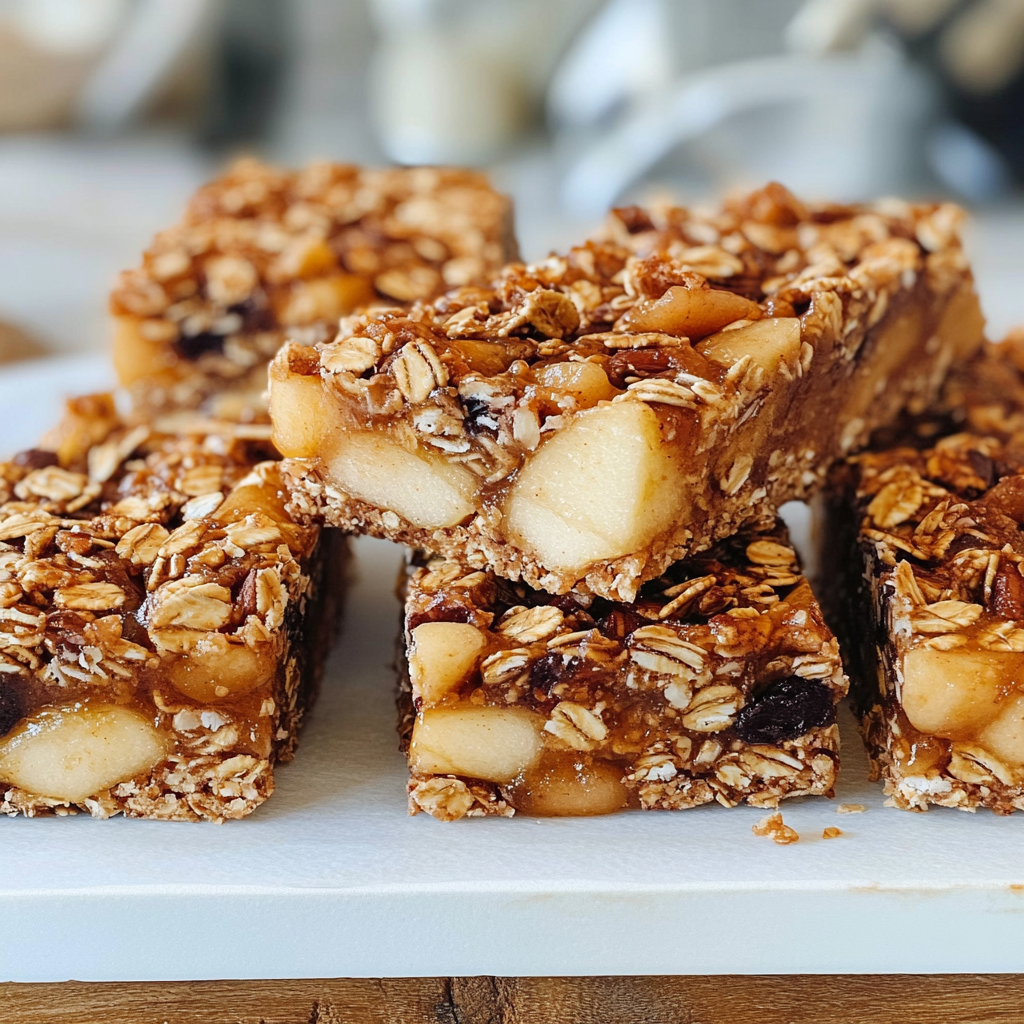
Gluten-Free Apple Granola Bars Recipe
Granola bars are a fantastic snack option, perfect for a quick breakfast, an afternoon pick-me-up, or a post-workout treat. This Gluten-Free Apple Granola Bar recipe is not only easy to make but also packed with nutrients, making it a great choice for anyone looking to maintain a healthy lifestyle. In this article, we’ll explore the ingredients, preparation methods, and answers to frequently asked questions, ensuring you have everything you need to create these delicious bars at home.
Ingredients
To create these delicious gluten-free apple granola bars, you will need the following ingredients:
- 200g rolled oats
- 100g almond flour
- 100g dried apples, chopped
- 50g honey or maple syrup
- 50g unsalted butter, melted
- 1 tsp cinnamon
- 1/2 tsp vanilla extract
- A pinch of salt
- 50g chopped nuts (optional)
These ingredients combine to create a nutritious and flavorful granola bar that everyone will love. Feel free to customize the recipe by adding your favorite nuts, seeds, or dried fruits!
Directions and Preparation Method
Follow these simple steps to prepare your gluten-free apple granola bars:
Step 1: Preheat the Oven
Preheat your oven to 180°C (160°C fan/gas mark 4). This step is crucial for ensuring that your granola bars bake evenly and achieve a nice golden color.
Step 2: Prepare the Baking Tray
Line an 8×8 inch baking tray with parchment paper. This will prevent the bars from sticking to the tray and make it easier to remove them once they’re baked.
Step 3: Combine Dry Ingredients
In a large mixing bowl, combine the following dry ingredients:
- 200g rolled oats
- 100g almond flour
- 100g dried apples, chopped
- 1 tsp cinnamon
- A pinch of salt
If you’re adding nuts, include 50g chopped nuts at this stage. Stir these ingredients together until well mixed.
Step 4: Mix Wet Ingredients
In a separate bowl, mix the wet ingredients:
- 50g unsalted butter, melted
- 50g honey or maple syrup
- 1/2 tsp vanilla extract
Whisk these ingredients together until they are well combined. The melted butter will help bind everything together, while the honey or maple syrup adds sweetness.
Step 5: Combine Wet and Dry Ingredients
Pour the wet mixture into the dry ingredients and stir thoroughly. Make sure that all the dry ingredients are well coated with the wet mixture. This step is vital for ensuring that your bars hold together once baked.
Step 6: Transfer to Baking Tray
Transfer the granola mixture into the prepared baking tray. Use the back of a spoon or your hands to press the mixture down firmly. This is an important step as it helps the bars to hold their shape during baking.
Step 7: Bake
Place the tray in the preheated oven and bake for 20-25 minutes, or until the edges are golden brown. Keep an eye on them towards the end of the baking time to avoid over-browning.
Step 8: Cool and Cut
Once baked, remove the tray from the oven and let it cool completely in the tray. This cooling period is essential as it allows the bars to firm up. Once cool, lift the bars out using the parchment paper and cut into squares or rectangles.
Step 9: Storage
Store your gluten-free apple granola bars in an airtight container. They will keep fresh for up to a week, making them a convenient snack option.
FAQs
Can I use other types of flour instead of almond flour?
Yes, you can substitute almond flour with other gluten-free flours, such as oat flour or coconut flour. Just be aware that different flours may alter the texture slightly.
Can I make these bars vegan?
Absolutely! To make these bars vegan, simply substitute the honey with maple syrup and use a plant-based butter alternative.
How can I customize my granola bars?
Feel free to add your favorite mix-ins, such as:
- Chopped nuts (walnuts, pecans, or cashews)
- Seeds (pumpkin seeds, sunflower seeds, or chia seeds)
- Other dried fruits (raisins, cranberries, or apricots)
Can I freeze these granola bars?
Yes! You can freeze the bars for longer storage. Wrap them individually in plastic wrap or place them in a freezer-safe container. They can be frozen for up to three months.
How do I know when my bars are done baking?
The bars are done when the edges are golden brown and a toothpick inserted in the center comes out clean. If they are still wet in the middle, return them to the oven for a few more minutes.
Are these granola bars healthy?
These granola bars are a healthier alternative to store-bought varieties, as they are made with whole, natural ingredients and are free from preservatives and artificial additives. They provide a good source of fiber, healthy fats, and essential nutrients.
Conclusion
Making your own gluten-free apple granola bars at home is not only easy but also a rewarding experience. With just a few simple ingredients and steps, you can create a delicious and nutritious snack that the whole family will love. Whether you’re looking for a quick breakfast option, a mid-day snack, or a post-workout treat, these granola bars are sure to satisfy your cravings while keeping you energized. Enjoy experimenting with different flavors and mix-ins, and share this wholesome treat with friends and family. Happy baking!
