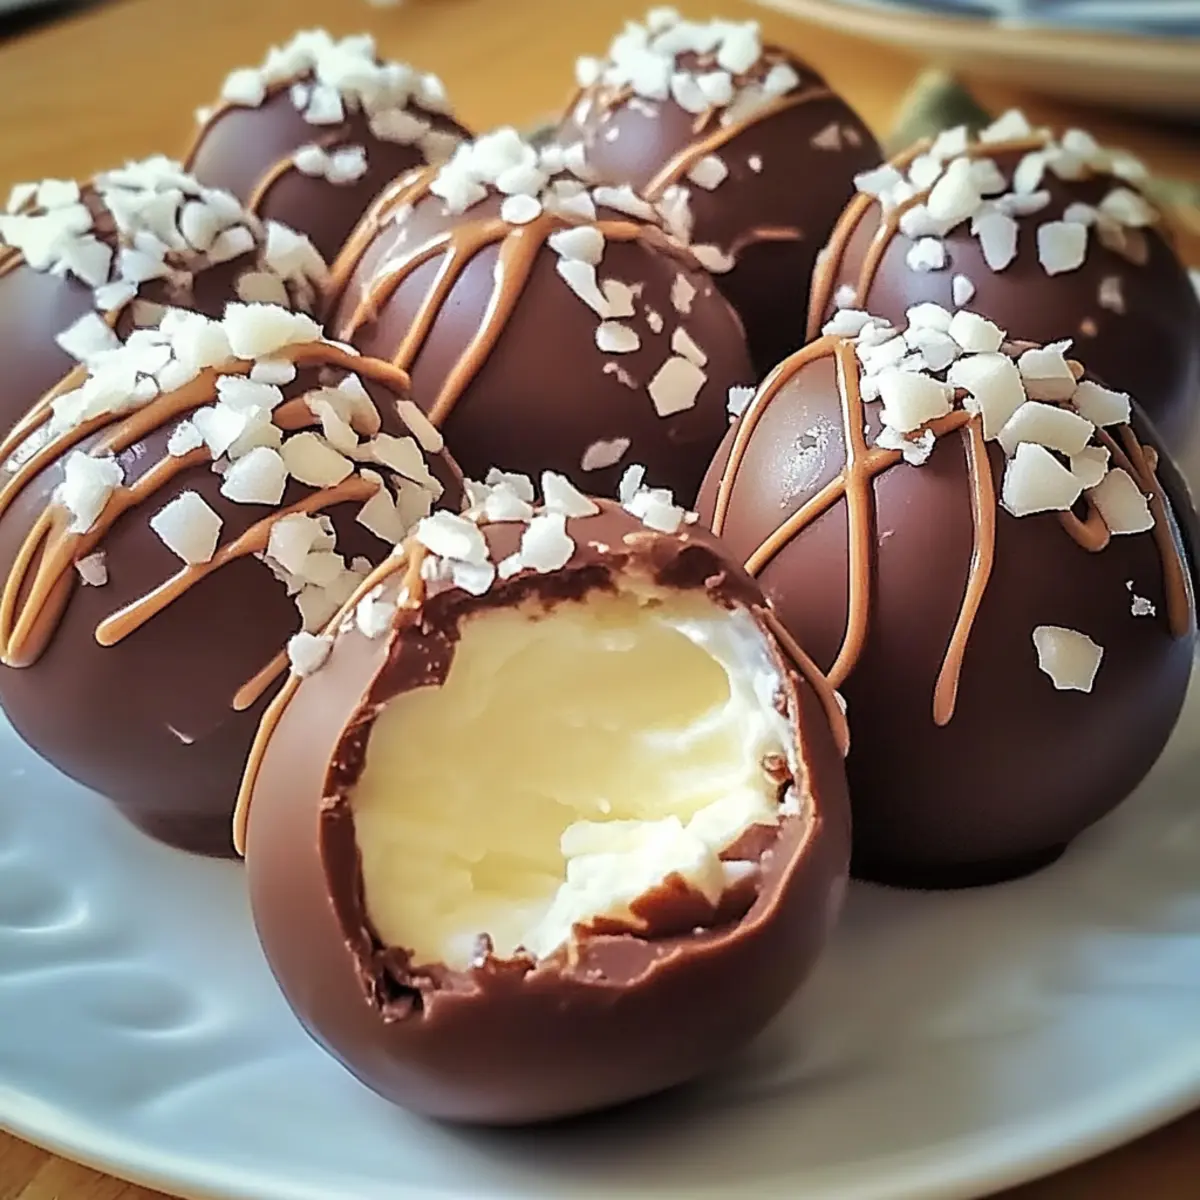
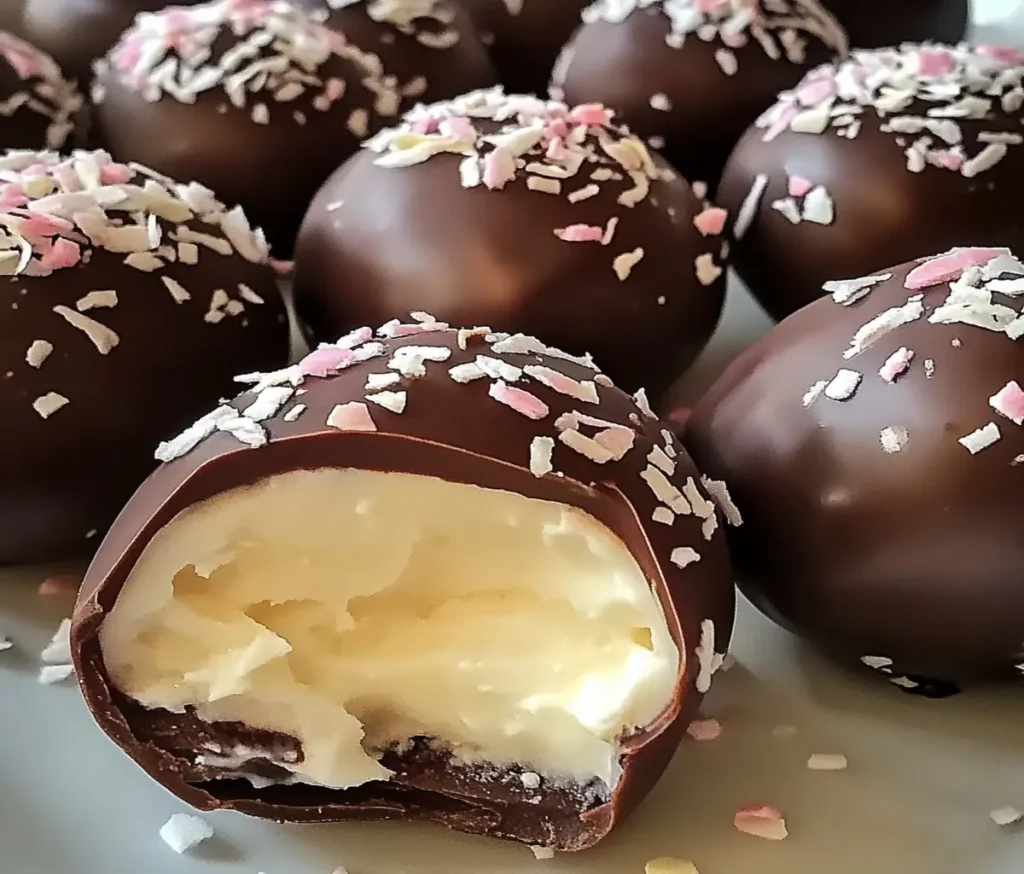
Growing up in a household where food was love and holidays were celebrated through flavors, Easter was always a season of sweet surprises and joyful baking marathons. Among all the treats, Homemade Easter Cream Eggs were my grandmother’s crowning glory—far more decadent than anything from the store, and crafted with care and intention.
Every spring, our kitchen turned pastel—speckled with candy melts, sprinkles, and delicate wrappers. But it was the smell of chocolate and buttercream that pulled me in. These eggs, filled with luscious vanilla cream and a soft yellow center, are a nostalgic nod to those golden childhood memories. Now, it’s your turn to bring this tradition into your home with a recipe that’s fun, simple, and bound to impress.
Why You’ll Love These Homemade Easter Cream Eggs
Before we dive into the “how,” let’s talk about the “why.”
- Unforgettable Flavor: With real butter, vanilla, and rich chocolate, these eggs are next-level delicious.
- Made with Love: Every step lets you personalize—flavors, colors, even the shape.
- Healthier & Fresher: No preservatives or artificial fillers like store-bought versions.
- Perfect Family Activity: A great way to involve kids or make gifts with a personal touch.
- Budget-Friendly: Fancy chocolates can be pricey—these are sweet savings!
Ingredient Spotlight for Homemade Easter Cream Eggs

For the Chocolate Shell:
- 1 cup milk chocolate chips – Offers a smooth, creamy base. You can also use chocolate bars chopped into chunks.
- 1 cup white chocolate chips – Adds a sweet, creamy contrast and aesthetic layering.
- ½ cup dark chocolate chips – For sealing the eggs and adding that bittersweet edge.
For the Cream Filling:
- 1 ½ cups powdered sugar – Provides structure and sweetness without graininess.
- ½ cup unsalted butter, softened – Adds richness and a melt-in-your-mouth texture.
- 2 teaspoons vanilla extract – The heart of the flavor; opt for pure vanilla for the best results.
- 2 tablespoons heavy cream – Helps smooth out the mixture and keep the filling soft.
- Yellow food coloring – Just a few drops for the “yolk” effect. Use gel coloring for vibrant hues without thinning the cream.
Tools You’ll Need for Homemade Easter Cream Eggs
You don’t need a professional kitchen to make magic happen:
- Egg-shaped silicone molds (or improvise with spoons & cling wrap for DIY versions!)
- Mixing bowls
- Microwave-safe bowls (or a double boiler)
- Spoons or pastry brush
- Hand or stand mixer
- Spatula
- Piping bag or ziplock with the tip cut off
Step-by-Step Guide to Chocolate Bliss
1. Melt & Layer the Chocolate Shell
Start by melting the milk chocolate chips. Microwave in short bursts—30 seconds each—stirring in between to avoid burning. When glossy and smooth, spoon it into each egg mold and swirl or brush it up the sides. This will be your beautiful outer shell.
Pro Tip: Two layers are better than one! Chill for 10 minutes and repeat with a second chocolate coat for sturdier eggs.
Repeat the process with white chocolate, pouring it into each mold to create a gorgeous marbled look. Refrigerate another 10 minutes to set.
2. Mix the Cream Filling
Cream the butter until light and fluffy, then slowly add powdered sugar. Mix until smooth, then blend in vanilla and heavy cream. The mixture should be thick, soft, and spreadable.
Split the filling in half. Tint one half with yellow food coloring. Now you’ve got your “egg white” and “yolk”!
Pro Tip: If the filling is too soft, chill it for 10–15 minutes before piping into the molds.
3. Fill the Chocolate Eggs
Remove your molds from the fridge. Fill each cavity halfway with white cream, then press a small ball of yellow filling into the center to mimic a yolk. Top with a bit more white cream to cover it fully.
Be sure to leave room at the top so you can seal the egg.
4. Seal with Dark Chocolate
Melt your dark chocolate and spoon it over the filled molds, smoothing the top to seal everything inside. This adds a satisfying contrast in flavor and a beautiful glossy finish.
Chill for 30 minutes or until completely firm.
5. Unmold and Finish Homemade Easter Cream Eggs
Pop the set eggs out of the mold carefully. If you’re gifting, wrap them in foil, cellophane, or place them in mini cupcake liners inside a gift box.
Optional decorations:
- Drizzle with colored chocolate
- Top with sprinkles
- Paint edible gold dust for extra flair
Make It Your Own: Creative Variations of Homemade Easter Cream Eggs
Here’s where you can truly personalize your eggs:
✳️ Peanut Butter Eggs
Replace ¼ of the butter with peanut butter. Add a pinch of salt to balance the sweetness.
✳️ Strawberry Cream Eggs
Add ½ teaspoon of strawberry extract and a drop of pink coloring to the filling.
✳️ Vegan Version
Use dairy-free chocolate, plant-based butter, and coconut cream. You won’t miss a thing.
✳️ Boozy Grown-Up Eggs
Mix 1 teaspoon of your favorite liqueur—like Baileys, Amaretto, or Grand Marnier—into the cream.
Pairing Ideas
Looking to create an Easter dessert platter? Pair these beauties with:
- Mini lemon tarts
- Coconut macaroons
- Pastel meringue cookies
- Fresh berries
- A bubbly rosé or sparkling water with fruit slices
Homemade Easter Cream Eggs History: Sweet Roots
The tradition of Easter eggs goes back centuries—originally as a pagan symbol of rebirth, later adopted by Christian customs to represent the resurrection. The modern chocolate egg, however, was born in 19th-century Europe, with France and Germany leading the confectionery charge. Over time, cream-filled varieties became especially popular in the U.S., making them a seasonal staple.
Now, homemade Easter Cream Eggs offer a nostalgic twist on that tradition, combining old-world inspiration with the joy of DIY creativity.
Hosting a DIY Homemade Easter Cream Eggs Party
Why not turn this into a full-blown event? Set up a decorating station with:
- Edible glitter
- Food-safe paint brushes
- Colorful icing
- Crushed candy for rolling
Add a playlist of springtime tunes, pastel tableware, and you’ve got a memorable Easter activity for all ages.
Common Questions
Can I make these ahead of time?
Yes! Make them up to 2 weeks in advance. Store in the fridge in an airtight container.
What if I don’t have molds?
Shape the filling into egg shapes, freeze, then dip into melted chocolate like truffles.
Can these be nut-free?
Absolutely—just use allergy-safe chocolate and fillings.
Can I add texture to the filling?
Crushed cookies, coconut flakes, or sprinkles can be folded in for fun textures.
Final Thoughts
Whether you’re recreating childhood memories or crafting new ones, these Homemade Easter Cream Eggs are more than just candy. They’re a celebration of flavor, tradition, and creativity. Wrap them up as gifts, serve them at Easter brunch, or enjoy them with your favorite tea under a sunny spring sky.
Bring a touch of old-school charm to your Easter with this timeless recipe—because sometimes, the sweetest things in life are made by hand.
Conclusion: A Sweet Tradition Reimagined
Homemade Easter Cream Eggs are more than just a delicious seasonal treat—they’re a beautiful blend of tradition, creativity, and heartfelt moments shared in the kitchen. Whether you’re crafting them as gifts, making memories with your little ones, or indulging in a nostalgic bite of buttery vanilla cream wrapped in chocolate, these eggs capture the very spirit of spring.
With just a few simple ingredients and a bit of love, you can turn your home into a chocolate workshop and bring a little magic to your Easter celebration. So gather your molds, roll up your sleeves, and let the sweet crafting begin—because once you make these from scratch, there’s no going back to store-bought!
Here’s to creating new traditions, one creamy chocolate egg at a time.