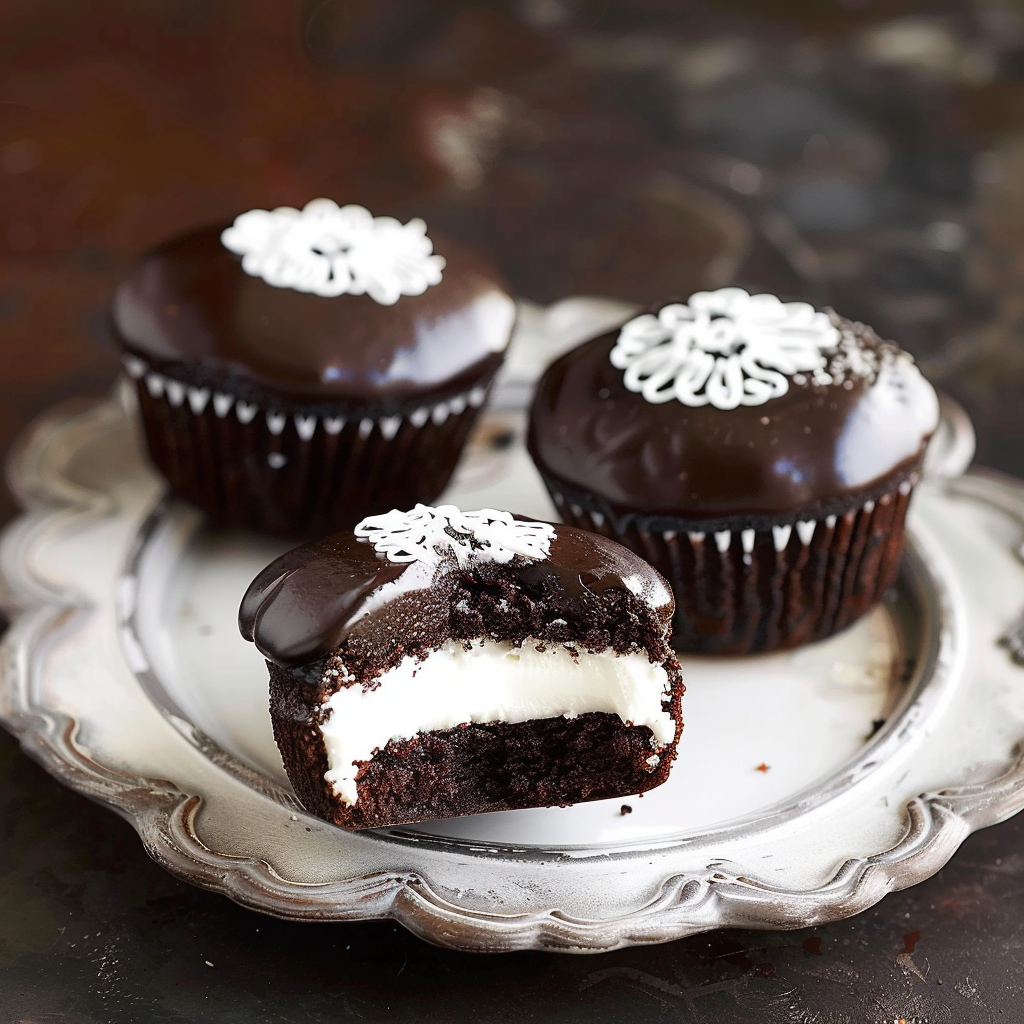
In the realm of homemade desserts, few treats can rival the nostalgic charm and irresistible flavor of Hostess cupcakes. With their moist chocolate cake, creamy filling, and rich ganache topping, these homemade delights are sure to captivate both young and old alike. Let’s embark on a culinary journey and discover how to recreate these iconic treats in the comfort of your own kitchen.
Ingredients:
For the Cupcakes:
- 1 and 1/2 cups all-purpose flour
- 1/2 cup unsweetened cocoa powder
- 1 teaspoon baking powder
- 1/2 teaspoon baking soda
- 1/2 teaspoon salt
- 1/2 cup unsalted butter, softened
- 1 cup granulated sugar
- 2 large eggs, at room temperature
- 1 teaspoon vanilla extract
- 1/2 cup buttermilk
For the Filling:
- 1/4 cup unsalted butter, softened
- 1/4 cup vegetable shortening
- 2 cups powdered sugar
- 2 tablespoons heavy cream
- 1/2 teaspoon vanilla extract
For the Ganache:
- 1 cup semi-sweet chocolate chips
- 1/2 cup heavy cream
For the Decorations:
- White icing or marshmallow fluff
- Rainbow sprinkles
Directions:
- Preheat oven to 350°F (175°C). Line cupcake pan.Before diving into the baking process, ensure your oven is preheated to the correct temperature and prepare your cupcake pan by lining it with cupcake liners.
- Combine dry cupcake ingredients.In a mixing bowl, whisk together the all-purpose flour, cocoa powder, baking powder, baking soda, and salt until well combined. Set aside.
- Beat butter and sugar, add eggs and vanilla.In a separate bowl, using an electric mixer, cream together the softened butter and granulated sugar until light and fluffy. Add in the eggs, one at a time, followed by the vanilla extract, beating well after each addition.
- Mix dry ingredients with butter mixture, alternating with buttermilk.Gradually add the dry ingredients to the butter mixture, alternating with the buttermilk, beginning and ending with the dry ingredients. Mix until just combined, being careful not to overmix.
- Fill cupcake liners, bake 18-20 mins.Spoon the batter into the prepared cupcake liners, filling each about two-thirds full. Bake in the preheated oven for 18 to 20 minutes, or until a toothpick inserted into the center of a cupcake comes out clean.
- Cream filling: Beat filling ingredients.While the cupcakes are baking and cooling, prepare the creamy filling. In a mixing bowl, beat together the softened butter, vegetable shortening, powdered sugar, heavy cream, and vanilla extract until smooth and creamy.
- Fill cupcakes using piping bag.Once the cupcakes have cooled completely, use a piping bag fitted with a round tip to inject each cupcake with the creamy filling, inserting the tip into the top of the cupcake and gently squeezing until the cupcake feels slightly heavier.
- Ganache: Pour hot cream over chocolate chips, stir until smooth.To prepare the decadent ganache topping, place the semi-sweet chocolate chips in a heatproof bowl. In a small saucepan, heat the heavy cream until it just begins to simmer. Pour the hot cream over the chocolate chips and let it sit for a minute before stirring until smooth and glossy.
- Dip cupcake tops in ganache, let set.Dip the top of each cupcake into the prepared ganache, allowing any excess to drip off. Place the dipped cupcakes on a wire rack set over a baking sheet to catch any drips, and allow the ganache to set slightly before proceeding.
- Pipe icing on top, add sprinkles.Once the ganache has set, use a piping bag fitted with a decorative tip to pipe swirls of white icing or marshmallow fluff onto the tops of the cupcakes. Sprinkle rainbow sprinkles over the icing for a pop of color and fun.
Conclusion:
In conclusion, indulging in homemade Hostess cupcakes is a delightful experience that brings joy to any occasion. From the moist chocolate cake to the creamy filling and decadent ganache topping, every bite is a taste of pure bliss. Whether you’re sharing them with loved ones or savoring them all to yourself, these homemade treats are sure to leave a lasting impression.
FAQs
- Can I use regular milk instead of buttermilk in the cupcake batter?
- While you can substitute regular milk for buttermilk, the acidity of buttermilk helps to tenderize the cupcakes and enhance their flavor. If you don’t have buttermilk on hand, you can make a DIY version by adding 1 tablespoon of lemon juice or vinegar to 1/2 cup of milk and letting it sit for a few minutes before using.
- Can I freeze the unfilled cupcakes for later use?
- Yes, you can freeze the unfilled cupcakes for up to 2-3 months. Once cooled completely, wrap each cupcake individually in plastic wrap and place them in a freezer-safe container or resealable plastic bag. When ready to enjoy, simply thaw the cupcakes at room temperature and fill and decorate as desired.
- Can I use milk chocolate chips instead of semi-sweet for the ganache?
- While semi-sweet chocolate chips are traditionally used for the ganache topping, you can certainly use milk chocolate chips if you prefer a sweeter flavor. Just keep in mind that the ganache may be slightly softer and sweeter with milk chocolate.
- How long will the filled cupcakes stay fresh?
- Once filled and decorated, the cupcakes can be stored in an airtight container in the refrigerator for up to 3-4 days. However, for the best taste and texture, it’s recommended to enjoy them within the first 2 days.
- Can I omit the vegetable shortening from the filling?
- While vegetable shortening helps to stabilize the filling and give it a smooth texture, you can omit it if desired. However, the filling may be slightly softer and less stable without it.
