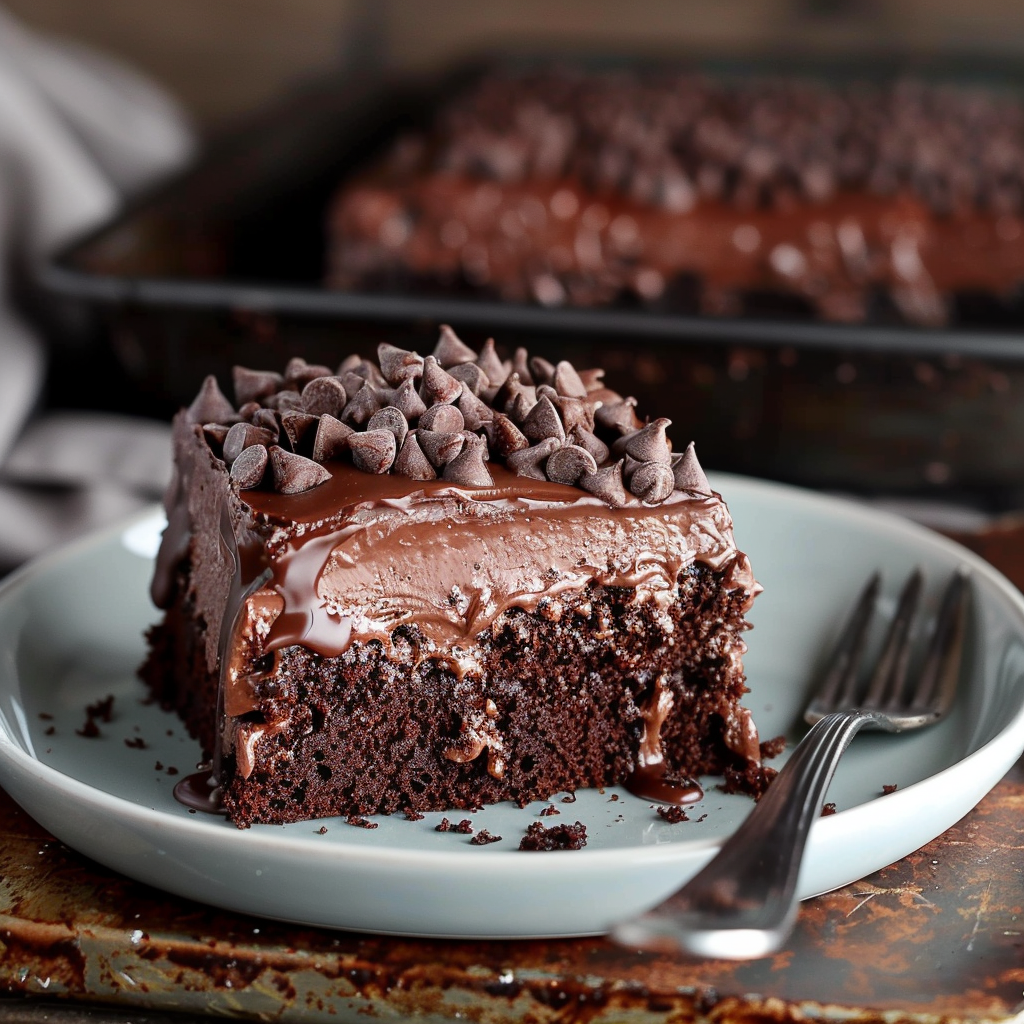
When it comes to indulgent desserts, few things satisfy quite like a Chocolate Poke Cake. This delectable treat combines the rich flavor of chocolate cake with layers of creamy sweetness, making it a favorite among dessert enthusiasts everywhere. Whether you’re hosting a dinner party, celebrating a special occasion, or simply craving something sweet, this recipe is sure to delight your taste buds.
Unraveling the Ingredients
To craft this irresistible dessert, you’ll need the following ingredients:
- 1 box chocolate cake mix: Opt for a high-quality mix to ensure rich flavor and moist texture.
- 1 cup hot fudge sauce: This adds a luscious chocolatey layer to the cake.
- 1 (14 oz) can sweetened condensed milk: Provides sweetness and moisture to the cake.
- 1 (12 oz) container whipped topping, thawed: Delivers a light and creamy topping.
- 1/2 cup mini chocolate chips, for garnish: Adds a delightful crunch and extra burst of chocolate.
- Chocolate shavings, for garnish: Enhances the cake’s visual appeal and adds a touch of elegance.
Crafting the Perfect Chocolate Poke Cake
Follow these simple steps to create a masterpiece:
- Preheat your oven to the temperature indicated on the cake mix box. Then, grease and flour a 9×13 inch baking dish to prevent sticking.
- Prepare the chocolate cake batter according to the package instructions. Pour the batter into the prepared baking dish and bake as directed.
- Once baked, remove the cake from the oven and immediately poke holes all over the top using the handle of a wooden spoon. This step allows the delicious fillings to seep into the cake.
- Warm the hot fudge sauce in the microwave for about 30 seconds, then pour it over the top of the cake, ensuring it fills the holes you created.
- Evenly pour the sweetened condensed milk over the cake, allowing it to seep into the holes as well. This adds moisture and sweetness to every bite.
- Allow the cake to cool completely before proceeding to the next step.
- Once cooled, spread the thawed whipped topping evenly over the top of the cake. This adds a light and airy layer of sweetness.
- Sprinkle mini chocolate chips and chocolate shavings over the whipped topping layer to garnish the cake and add a pop of flavor.
- Refrigerate the cake for at least 4 hours before serving to allow the flavors to meld together and the cake to set properly.
Serving and Enjoying
With its layers of chocolatey goodness, this Chocolate Poke Cake is sure to be a hit at any gathering. Serve it chilled for maximum refreshment and indulge in each decadent bite. Whether enjoyed on its own or paired with a scoop of vanilla ice cream, this dessert is guaranteed to satisfy your sweet tooth cravings.
Nutritional Information
- Prep Time: 15 minutes
- Cooking Time: Varies
- Total Time: Varies
- Calories: 320 kcal per serving
- Servings: 12 servings
Elevate Your Dessert Game
When it comes to desserts that impress, Chocolate Poke Cake reigns supreme. Its rich flavor, creamy texture, and ease of preparation make it a go-to option for any occasion. Whether you’re a seasoned baker or a novice in the kitchen, this recipe is sure to yield delicious results that will leave your guests craving more. So why wait? Treat yourself to a slice of indulgence today!
In conclusion, Chocolate Poke Cake stands as a testament to the irresistible allure of chocolate desserts. With its rich layers of cake, fudge sauce, and whipped topping, it offers a symphony of flavors and textures that captivate the senses. Whether you’re baking it for a special occasion or simply craving a sweet indulgence, this recipe promises to deliver pure satisfaction with every bite.
So, why not elevate your dessert game and treat yourself and your loved ones to the decadent delight of Chocolate Poke Cake? With its simple preparation and unforgettable taste, it’s the perfect way to sweeten any moment and create lasting memories. Indulge in this culinary masterpiece and experience the joy of indulgence like never before.
