Introduction
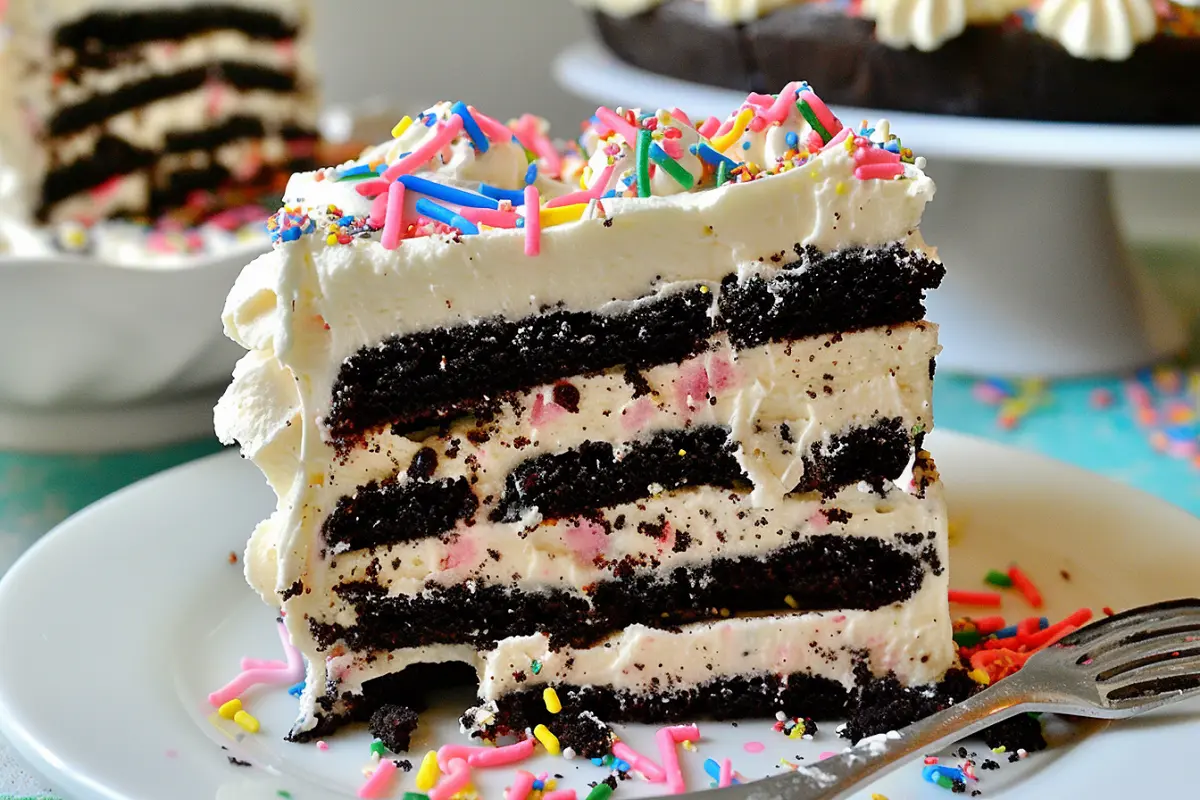
Desserts have a magical ability to bring joy and happiness into our lives, and the No-Bake Funfetti Oreo Icebox Cake is no exception! This delightful treat combines the classic flavors of funfetti cake and creamy vanilla pudding with the irresistible crunch of Golden Oreos, all without the need for an oven. Perfect for birthday parties, summer picnics, or simply a sweet indulgence at home, this cake is easy to make and incredibly satisfying. In this article, we’ll explore the ingredients, step-by-step directions, some frequently asked questions, and conclude with the delightful benefits of making this cake.
Ingredients
To prepare the No-Bake Funfetti Oreo Icebox Cake, gather the following ingredients:
- 40 Golden Oreos
These sweet, golden sandwich cookies form the base and layers of the cake, adding a satisfying crunch. - 1 box Funfetti cake mix (dry)
This brings the funfetti flavor and colorful sprinkles, infusing the cake with a festive flair. - 1 box instant vanilla pudding (3.4 oz)
Adds creaminess and richness to the cake, providing a smooth texture. - 1 ½ cups milk
Needed to prepare the instant pudding, enhancing the creaminess of the cake. - 1 tub Cool Whip (8 oz)
This light and fluffy whipped topping gives the cake its airy texture. - 2 cups heavy whipping cream
Adds a rich, creamy layer to the cake, creating a luxurious mouthfeel. - 3 tablespoons powdered sugar
Sweetens the whipped cream, balancing the flavors. - Sprinkles for topping
Adds a fun and colorful touch, making the cake visually appealing.
Directions and Preparation Method
Now that you have gathered all your ingredients, let’s walk through the steps to create this delicious cake:
Step 1: Prepare the Pudding Mixture
In a medium-sized bowl, combine the dry Funfetti cake mix, instant vanilla pudding, and milk. Using a whisk, mix until smooth and well combined. This mixture will serve as the flavorful base for your icebox cake. Set aside for a moment to let the flavors meld together.
Step 2: Whip the Cream
In a separate mixing bowl, pour in the heavy whipping cream. Using an electric mixer, whip the cream on high speed until it begins to thicken. Gradually add the powdered sugar as you continue to whip. Keep whipping until stiff peaks form. This means that the whipped cream should hold its shape and not collapse when lifted with a spatula.
Once the whipped cream is ready, gently fold in the Cool Whip. Be careful to fold it in slowly so that you maintain the light, airy texture of the whipped cream. This whipped cream mixture will add a delightful creaminess to the layers of the cake.
Step 3: Assemble the Cake
Now, it’s time to assemble your No-Bake Funfetti Oreo Icebox Cake!
- Line the Bottom: Take a 9×13 inch baking dish and line the bottom with a single layer of Golden Oreos. You can place them in a single layer, ensuring that they cover the entire bottom of the dish.
- First Layer of Pudding: Spread half of the pudding mixture evenly over the layer of Oreos. Use a spatula to smooth it out gently, making sure to reach the edges.
- Add More Oreos: Place another layer of Golden Oreos on top of the pudding mixture.
- Second Layer of Pudding: Spread the remaining pudding mixture over the second Oreo layer, again smoothing it out evenly.
- Top with Whipped Cream: Finally, spoon the whipped cream mixture over the top of the cake. Use the spatula to smooth it out and create an even layer.
- Decorate: Sprinkle your favorite sprinkles on top of the whipped cream layer. This adds a colorful and festive touch, making your cake visually appealing.
Step 4: Refrigerate
Cover the baking dish with plastic wrap or a lid and place it in the refrigerator. Allow the cake to chill for at least 4 hours, or preferably overnight. This chilling time allows the flavors to meld and the cake to set properly.
FAQs
1. Can I use different cookies for this cake?
Absolutely! While Golden Oreos work beautifully for this recipe, feel free to experiment with different cookies like regular Oreos or even flavored cookies such as chocolate or peanut butter.
2. How long can I store the No-Bake Funfetti Oreo Icebox Cake?
You can keep this cake in the refrigerator for up to 3-5 days. Just be sure to cover it tightly to maintain freshness.
3. Can I make this cake gluten-free?
Yes, you can use gluten-free cookies and cake mix to create a gluten-free version of this delightful dessert.
4. Is it necessary to use Cool Whip?
Cool Whip adds a lightness to the cake, but if you prefer, you can use homemade whipped cream instead. Just make sure to stabilize it if you plan to store it for a few days.
5. Can I add fruit to the cake?
Yes! You can layer in fresh fruit like strawberries, blueberries, or bananas between the pudding and whipped cream layers for added flavor and texture.
6. What occasions is this cake best suited for?
This cake is perfect for birthdays, summer parties, picnics, or any casual gathering. It’s a great way to celebrate with a fun and colorful dessert!
Conclusion
The No-Bake Funfetti Oreo Icebox Cake is not only a visual delight but also a simple and delicious dessert that everyone will love. Its creamy layers, crunchy Oreo base, and festive funfetti flavor make it a perfect treat for any occasion. Whether you’re serving it at a birthday party, family gathering, or enjoying it as a special treat at home, this icebox cake is sure to please.
